
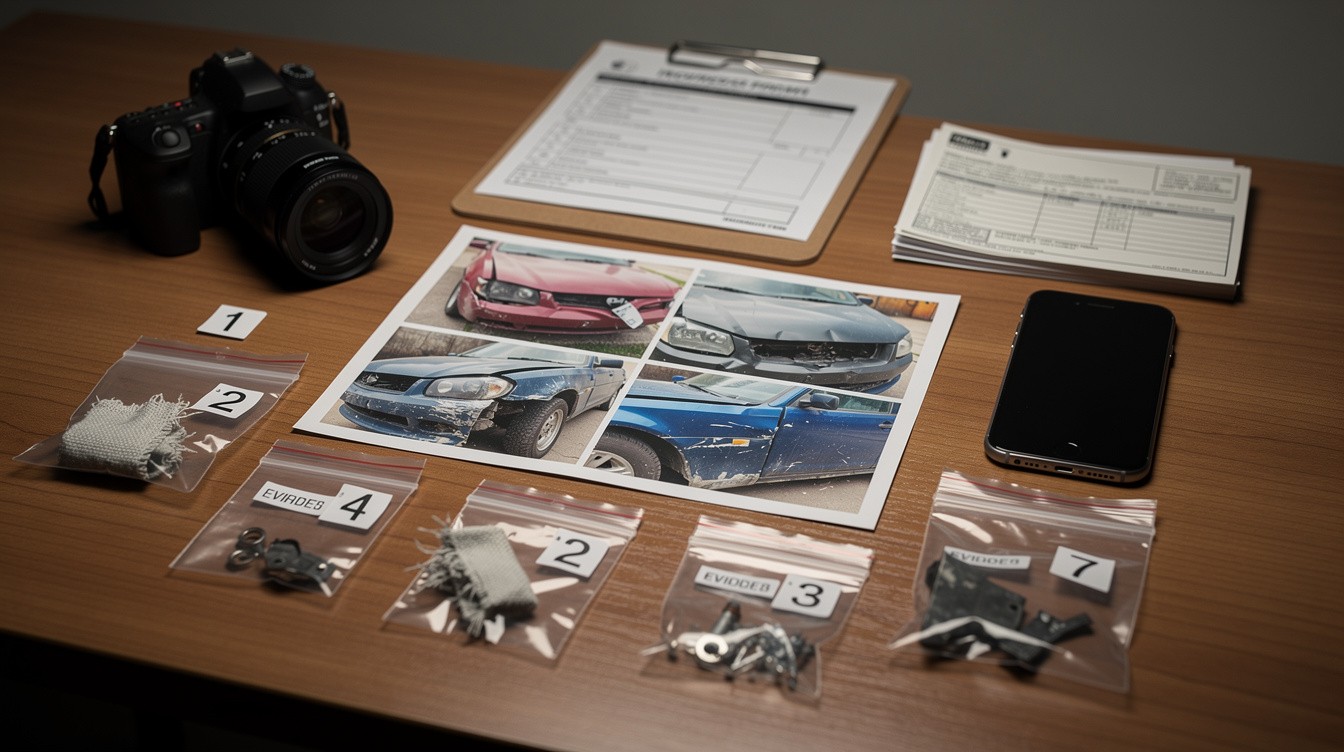
After a crash, the decisions you make in the first hours and days directly affect your ability to recover compensation. Injury documentation after a crash isn’t just helpful-it’s the foundation of a strong claim.
We at Schaar & Silva LLP have seen how organized evidence transforms cases. This guide walks you through exactly what to document and how to keep it all together.
What to Photograph and Record at the Crash Scene
Capture Vehicle Damage from Multiple Angles
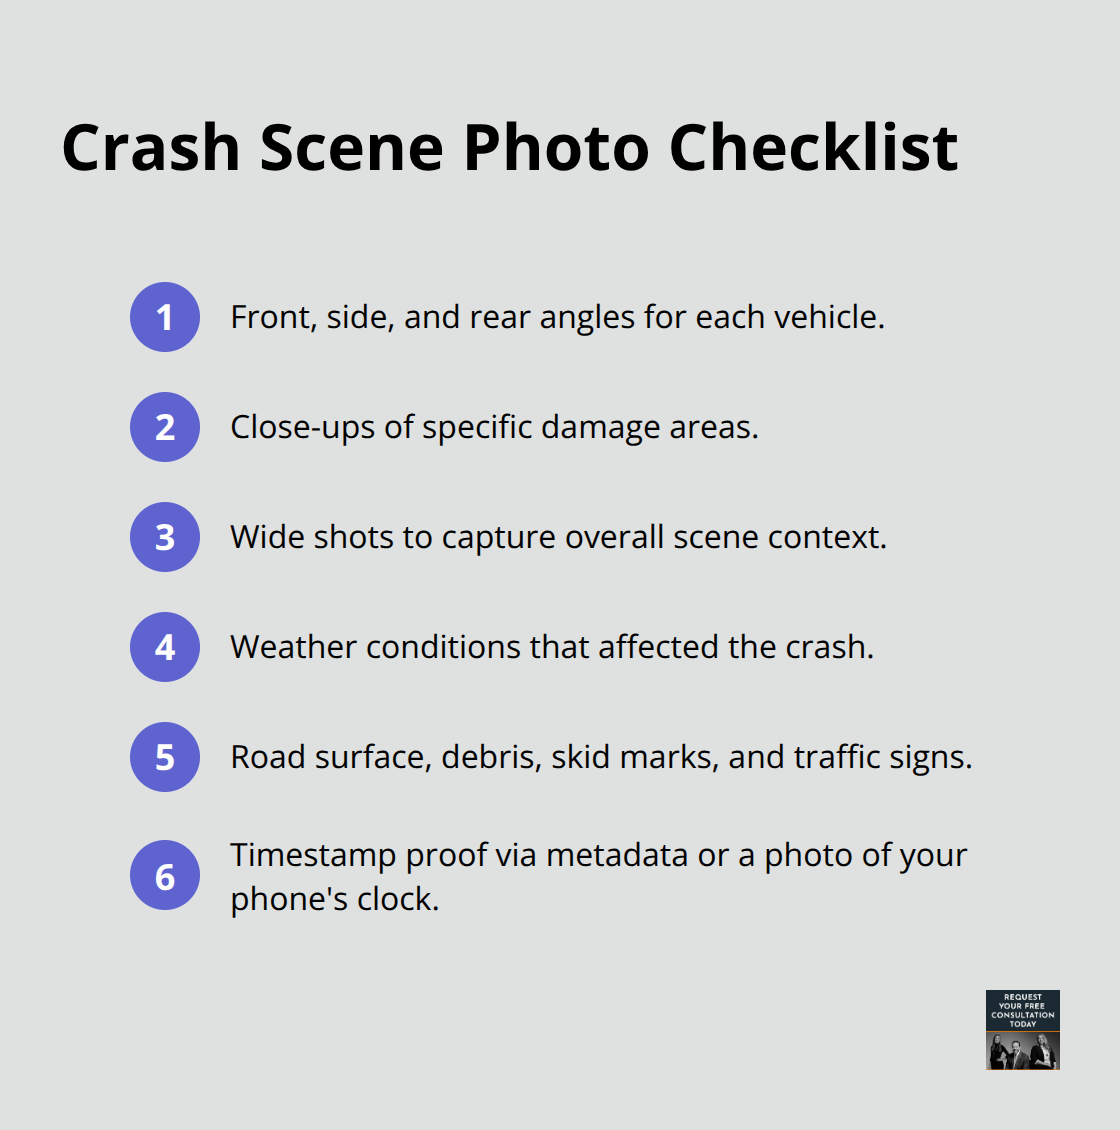
Your phone becomes your most powerful evidence tool in the first moments after a crash. Photograph each vehicle from at least three angles-front, side, and rear-then zoom in on specific damage areas. Wide shots establish the overall scene context so the location and surrounding conditions remain clear. If weather affected the crash, capture those conditions too. Overcast skies, rain, or poor visibility matter for establishing how the collision occurred.
Document the Scene and Road Conditions
Take photos of the road surface, any debris, skid marks, and traffic signals or signs. Timestamp matters enormously. Most phones automatically embed the date and time in image metadata, but if yours doesn’t, photograph your phone’s clock as the first image in your sequence. This creates an unbreakable record of when you documented the scene.
Record Visible Injuries Over Time
Photograph visible injuries the same day, then again over the following weeks as bruising develops or swelling changes. Injuries often look worse 24 to 48 hours after impact, so multiple photos over time show the true severity that a single image might miss. This progression demonstrates the injury’s actual impact on your body.
Capture Video Evidence at the Scene
Record video of the accident scene while you’re still there. Walk around and narrate what you see-road conditions, traffic patterns, visibility, and any hazards. A 30 to 60-second video captures context that still photos cannot. If you’re injured and unable to document yourself, ask a witness, family member, or emergency responder to record this footage immediately.
Secure Your Evidence in Multiple Locations
Store all photos and videos in at least two separate locations the same day you take them. Cloud storage through Google Photos, iCloud, or Dropbox creates an automatic backup and proves the content existed on a specific date. Don’t rely on your phone’s internal storage alone-devices get lost, damaged, or stolen after accidents. Label your files with dates and brief descriptions so you can locate them months or years later when your case moves forward. This organized approach to visual evidence gives your legal team a complete picture of what happened and how it affected you. Once you’ve secured your photographs and video, the next critical step involves gathering your medical records and health documentation.
Medical Records and Health Documentation
Request Your Complete Medical File Immediately
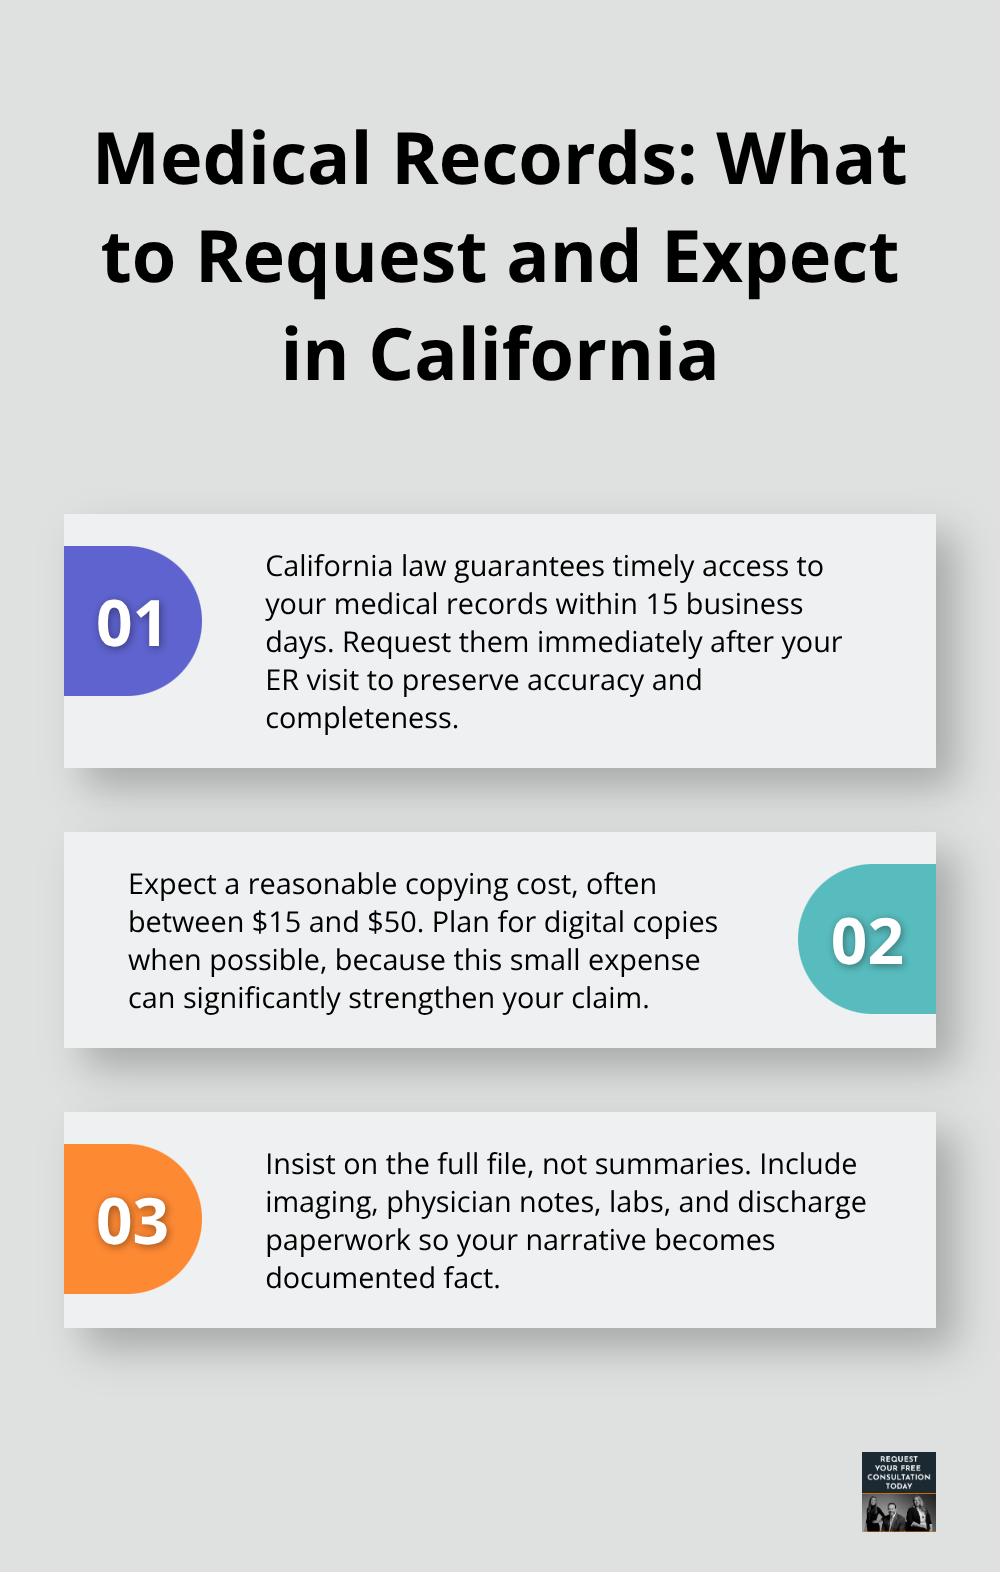
Your medical records transform your injury claim from a story into documented fact. Request your complete medical file from the hospital or clinic immediately after your emergency room visit, not weeks later when memories fade and files get misplaced. Include the initial assessment, imaging reports, physician notes, and discharge paperwork in your request. California law guarantees your right to access these records within 15 business days under Health and Safety Code Section 123100. Most facilities charge between $15 and $50 for records copies, but this investment pays dividends when your case moves forward. Don’t settle for summaries or partial records-obtain the full file with every test result, lab value, and clinical observation documented by medical staff.
Organize Follow-Up Appointments and Treatment Records
Create a dedicated folder for every follow-up appointment you attend after the crash. Each visit generates paperwork: office notes from your doctor, physical therapy evaluations, imaging reports from MRI or CT scans, and referral letters to other providers. Photograph or scan these documents the day you receive them, storing digital copies in cloud storage alongside your accident scene photos. Insurance companies and defense attorneys scrutinize gaps in medical treatment, so maintain continuity by scheduling follow-up appointments promptly and attending every session.
Document Your Medications and Prescriptions
Include prescription documentation showing the medication names, dosages, dates filled, and refill patterns. This creates a timeline of your ongoing treatment that demonstrates injury severity. If cost is a barrier to filling prescriptions or attending appointments, mention this to your healthcare provider; many offer payment plans or can refer you to community health resources. Medical records combined with consistent treatment history form the backbone of your damages claim, showing both the immediate impact of the crash and your long-term recovery needs.
Preserve Your Evidence for Your Legal Team
Your legal team will use these documents to calculate medical expenses, lost wages, and ongoing care costs when negotiating your settlement. Store all medical records in at least two separate locations-cloud storage and a physical folder-so nothing gets lost or damaged. The organization you establish now determines how effectively your attorney can present your case months or years down the road. With your medical documentation secured and organized, the next step involves compiling all financial records and receipts related to your accident.
Organizing Your Evidence for Legal Action
Create a Chronological Timeline of Events and Medical Treatment
Treat your accident documentation like a legal case from day one. Start with the crash date and time, then add every medical appointment, test result, prescription fill, and expense in chronological order. This timeline becomes your roadmap when your attorney needs to demonstrate the injury’s progression and its impact on your life. Use a simple spreadsheet or handwritten notebook divided by month, listing the date, what happened, and which documents support that event. When your attorney reviews your file months later, this timeline saves hours of work piecing together fragmented records.
California’s statute of limitations gives you two years from the injury date to file a personal injury claim under California Code of Civil Procedure Section 335.1. This deadline makes organization critical as time passes. Your timeline transforms scattered documents into a persuasive narrative that shows both your injury’s severity and its financial impact on your life.
Store Digital Copies in a Secure Location with Backup Files
Digital organization matters equally to physical records. Create a folder structure on cloud storage that mirrors your timeline: one folder per month after the crash, with subfolders for medical records, receipts, photos, and correspondence. Name each file with the date and a brief description, such as 2026-08-15-ER-discharge-summary or 2026-09-03-physical-therapy-invoice. This naming system eliminates confusion when you have multiple documents from the same provider or date.
Store everything in at least two cloud platforms simultaneously; if one service experiences data loss, your backup protects your evidence. Download and print critical documents monthly as a physical backup, storing them in a waterproof container at home. This redundancy ensures that no single failure-device loss, data corruption, or accidental deletion-destroys your case foundation.
Compile All Receipts and Bills Related to the Accident
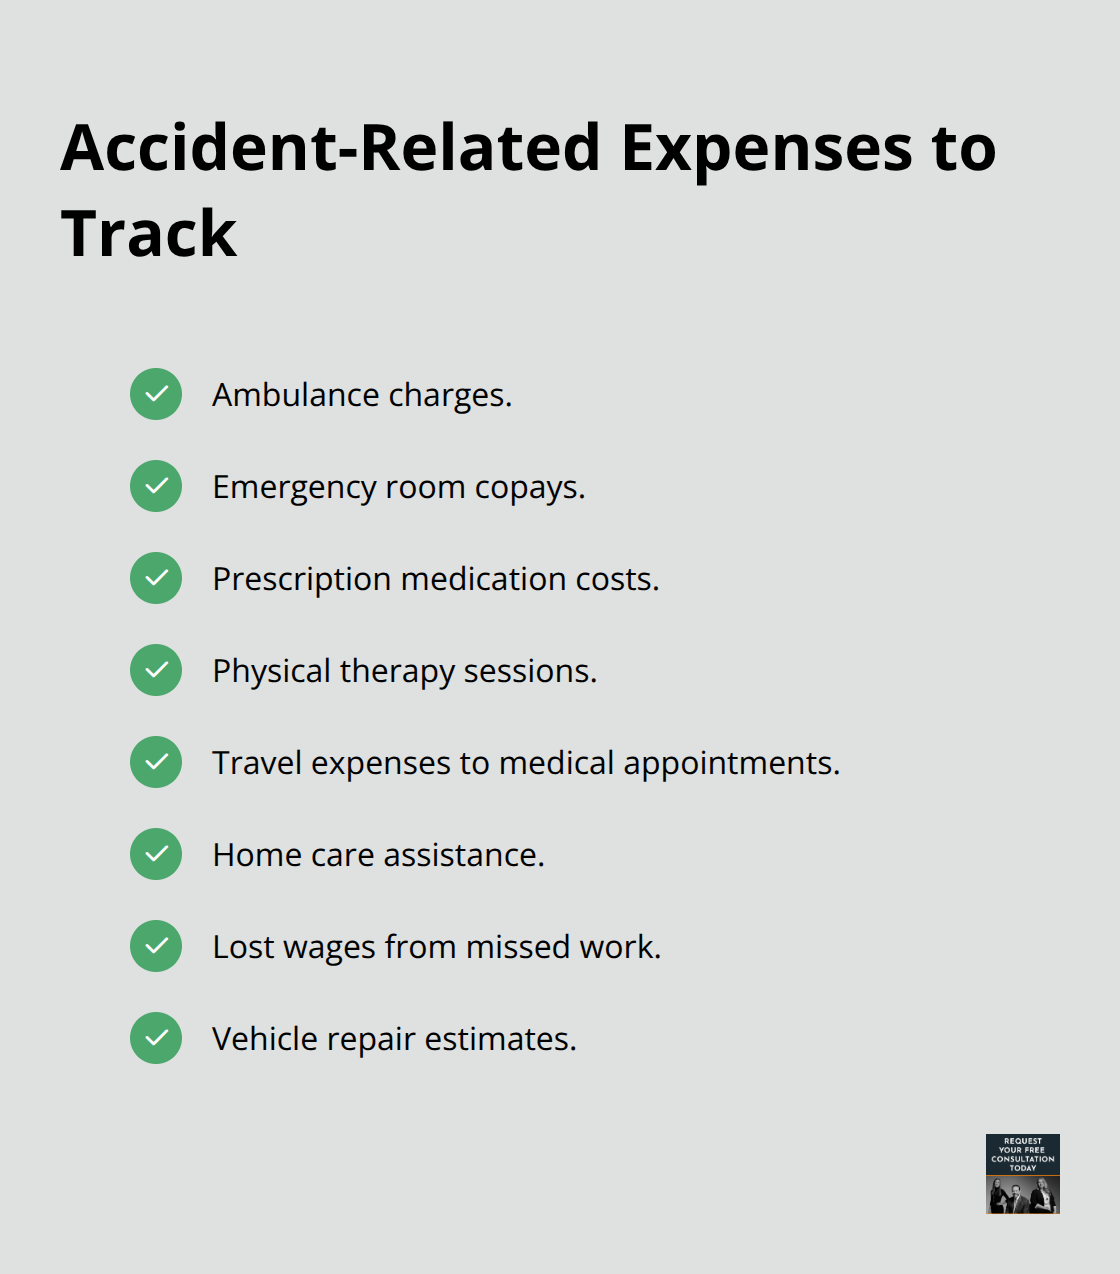
Every expense connected to the crash belongs in your file: ambulance charges, emergency room copays, prescription costs, physical therapy sessions, travel expenses to medical appointments, home care assistance, lost wages from missed work, and vehicle repair estimates. Photograph or scan each receipt the day you receive it rather than waiting until month-end; original documents fade, get lost, or accidentally discarded.
Create a spreadsheet listing each expense with the date, provider name, category, amount, and whether you have supporting documentation. This spreadsheet becomes your damages summary when settlement negotiations begin. Insurance companies scrutinize gaps and inconsistencies, so completeness matters intensely. If you cannot afford certain treatments or medications because of cost, document this refusal with a note explaining the financial barrier. Your attorney needs to know what medical care you declined due to expense, as this affects your damages calculation.
Final Thoughts
The documentation you gather in the days and weeks after your crash becomes the evidence that determines your compensation. Injury documentation after a crash transforms a weak claim into one that withstands scrutiny from insurance companies and defense attorneys. Evidence degrades over time-witnesses move away, medical providers purge old records after seven years, and road conditions change with weather and maintenance.
Acting quickly protects what matters most. Your organized file answers challenges before they arise, and your chronological timeline accelerates settlement negotiations if your case moves forward. California’s two-year statute of limitations sounds like plenty of time until critical evidence vanishes and you realize how much you’ve lost. We at Schaar & Silva LLP can guide you through evidence organization and handle the legal complexities while you focus on healing.
Start your documentation today, store everything securely in multiple locations, and reach out for legal guidance as soon as possible. Your future recovery depends on the decisions you make right now. The investment you make in organizing your evidence today pays dividends when your case moves forward.
