
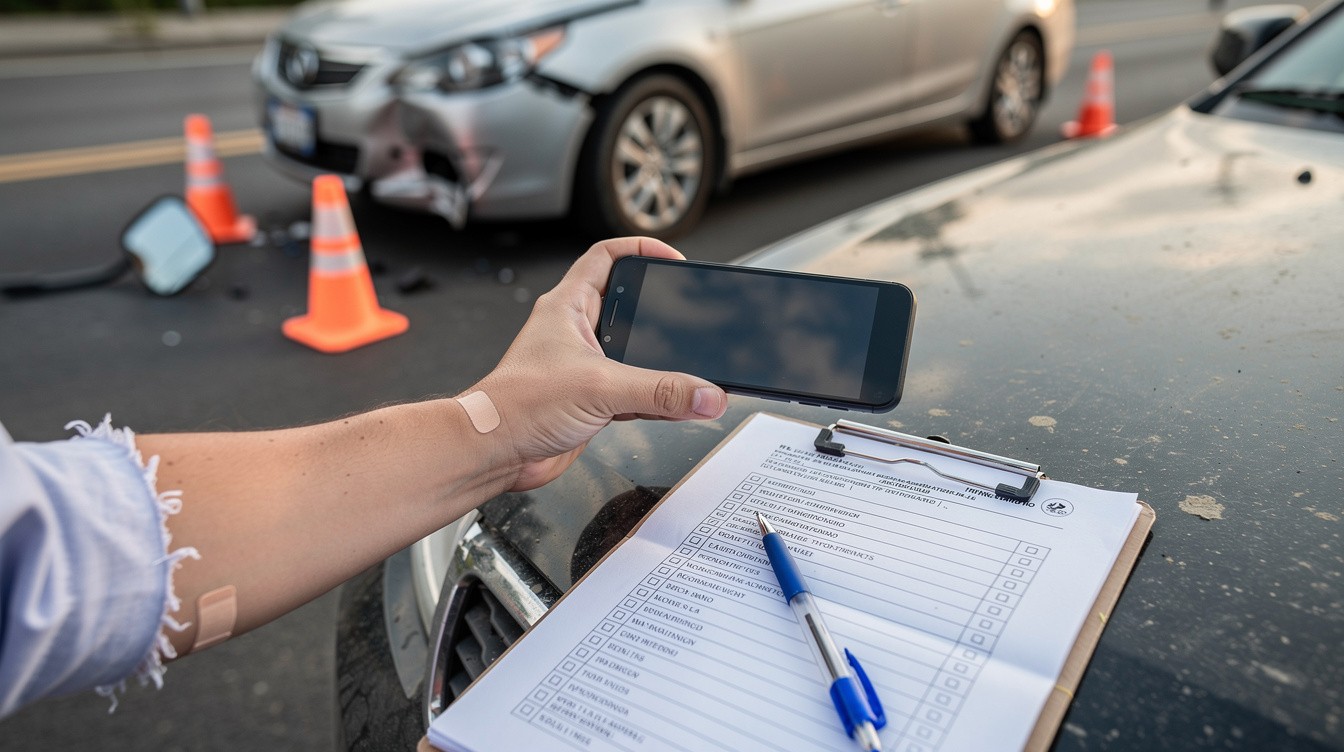
After a car accident, most people focus on immediate medical care and insurance calls. What they miss is that documentation becomes your foundation for any injury claim.
We at Schaar & Silva LLP have seen how the right car accident injuries checklist makes the difference between a strong claim and a weak one. The evidence you gather in the days and weeks after a crash directly impacts what you can recover.
What to Photograph and Record at the Crash Scene
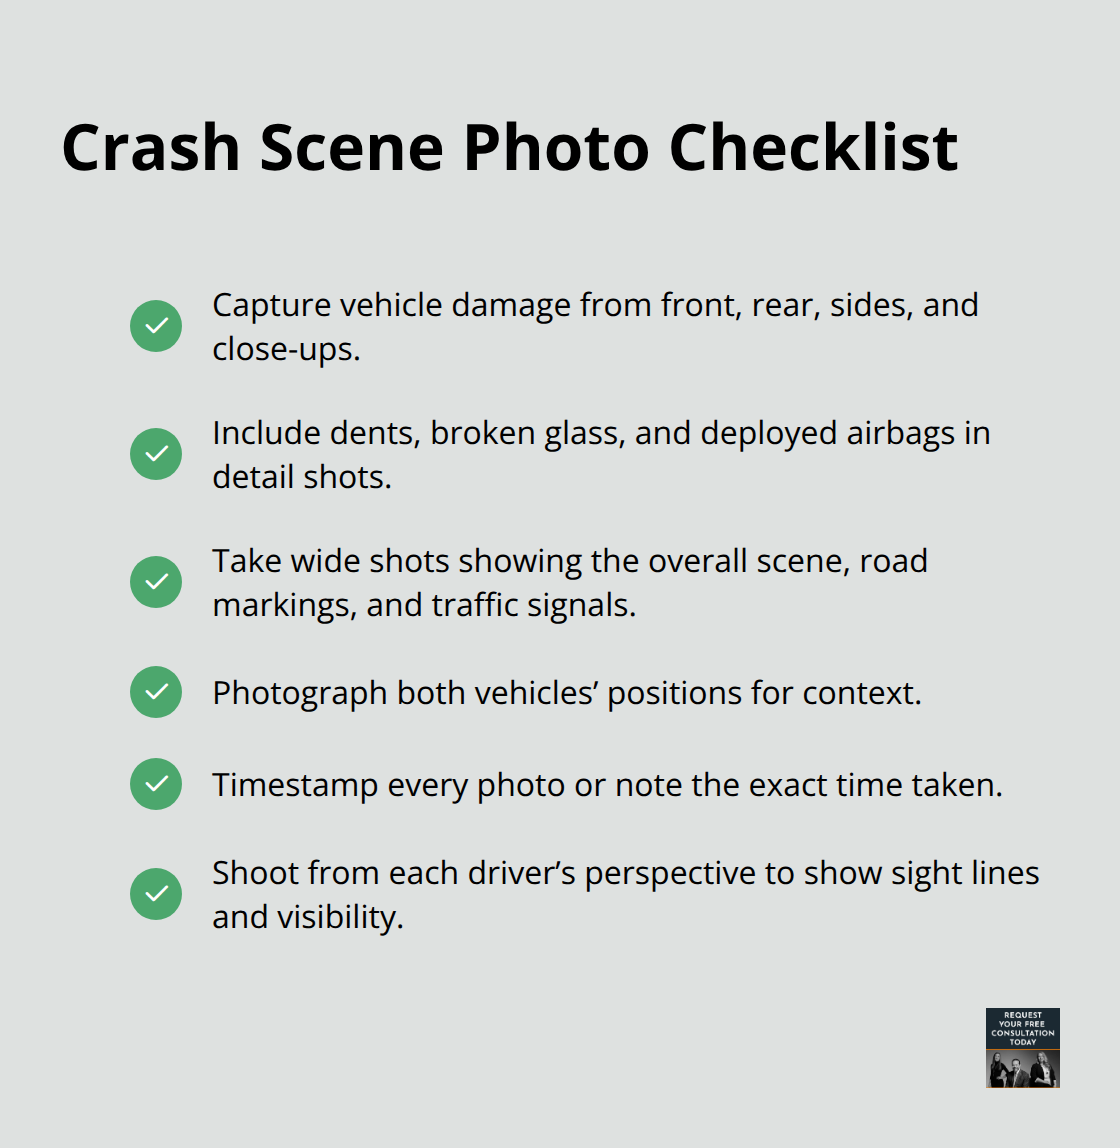
The first hours after a crash give you the most control over evidence collection. Start photographing immediately, even if you feel shaken or injured. Capture vehicle damage from multiple angles-front, rear, sides, and close-ups of dents, broken glass, and deployed airbags. Include wide shots that show the overall scene, road markings, traffic signals, and the position of both vehicles. Timestamp your photos or note the time you took them; this creates a credible record. Photograph the scene from the perspective of each driver to show sight lines and visibility. Police photos often focus on liability factors rather than injury-related details, so your personal documentation provides far more detail and reaches your medical team and legal representatives immediately.
Weather, Road Surface, and Environmental Factors
Environmental conditions directly influence injury severity. Research in Accident Analysis & Prevention shows that weather, lighting, and road surface conditions affect crash dynamics and injury outcomes. Note whether it was raining, foggy, or dark; record the road surface type (asphalt, gravel, pothole-damaged); and observe if ice, debris, or standing water existed. Photograph traffic signs, construction zones, or hazards that may have contributed to the crash. Write down the time of day, visibility distance, and any unusual conditions like glare from the sun or oncoming headlights. This information establishes how environmental factors influenced the collision and supports medical documentation of injury mechanisms.
Gathering Witness and Driver Information
Collect full names, phone numbers, email addresses, and home addresses from the other driver and any witnesses present. Ask each witness for a brief statement about what they saw-their account remains most accurate immediately after the event, before memory fades or details become confused. Note their position at the scene and whether they saw the impact. Obtain the other driver’s insurance details, policy number, and claim number on the spot. Photograph their driver’s license, vehicle registration, and insurance card. If the other driver seems uncooperative or hostile, do not argue; simply document what you can and contact police if you feel unsafe. Contact information from witnesses matters because people move, change phone numbers, and become harder to reach after weeks pass. The CDC recommends seeking medical evaluation within 24 to 72 hours after a crash, and having witness statements prepared beforehand strengthens your medical and legal records.
Your documentation from the scene now forms the foundation for the medical records you’ll need to gather in the coming days and weeks.
Building Your Medical Record After a Crash
Schedule Medical Evaluation Within the Critical Window
The first 24 to 72 hours after a crash are critical for medical evaluation. The CDC emphasizes this window because hidden injuries like whiplash, concussions, and internal bleeding often don’t show symptoms immediately. Schedule an appointment with your primary care doctor or an urgent care clinic even if you feel fine.
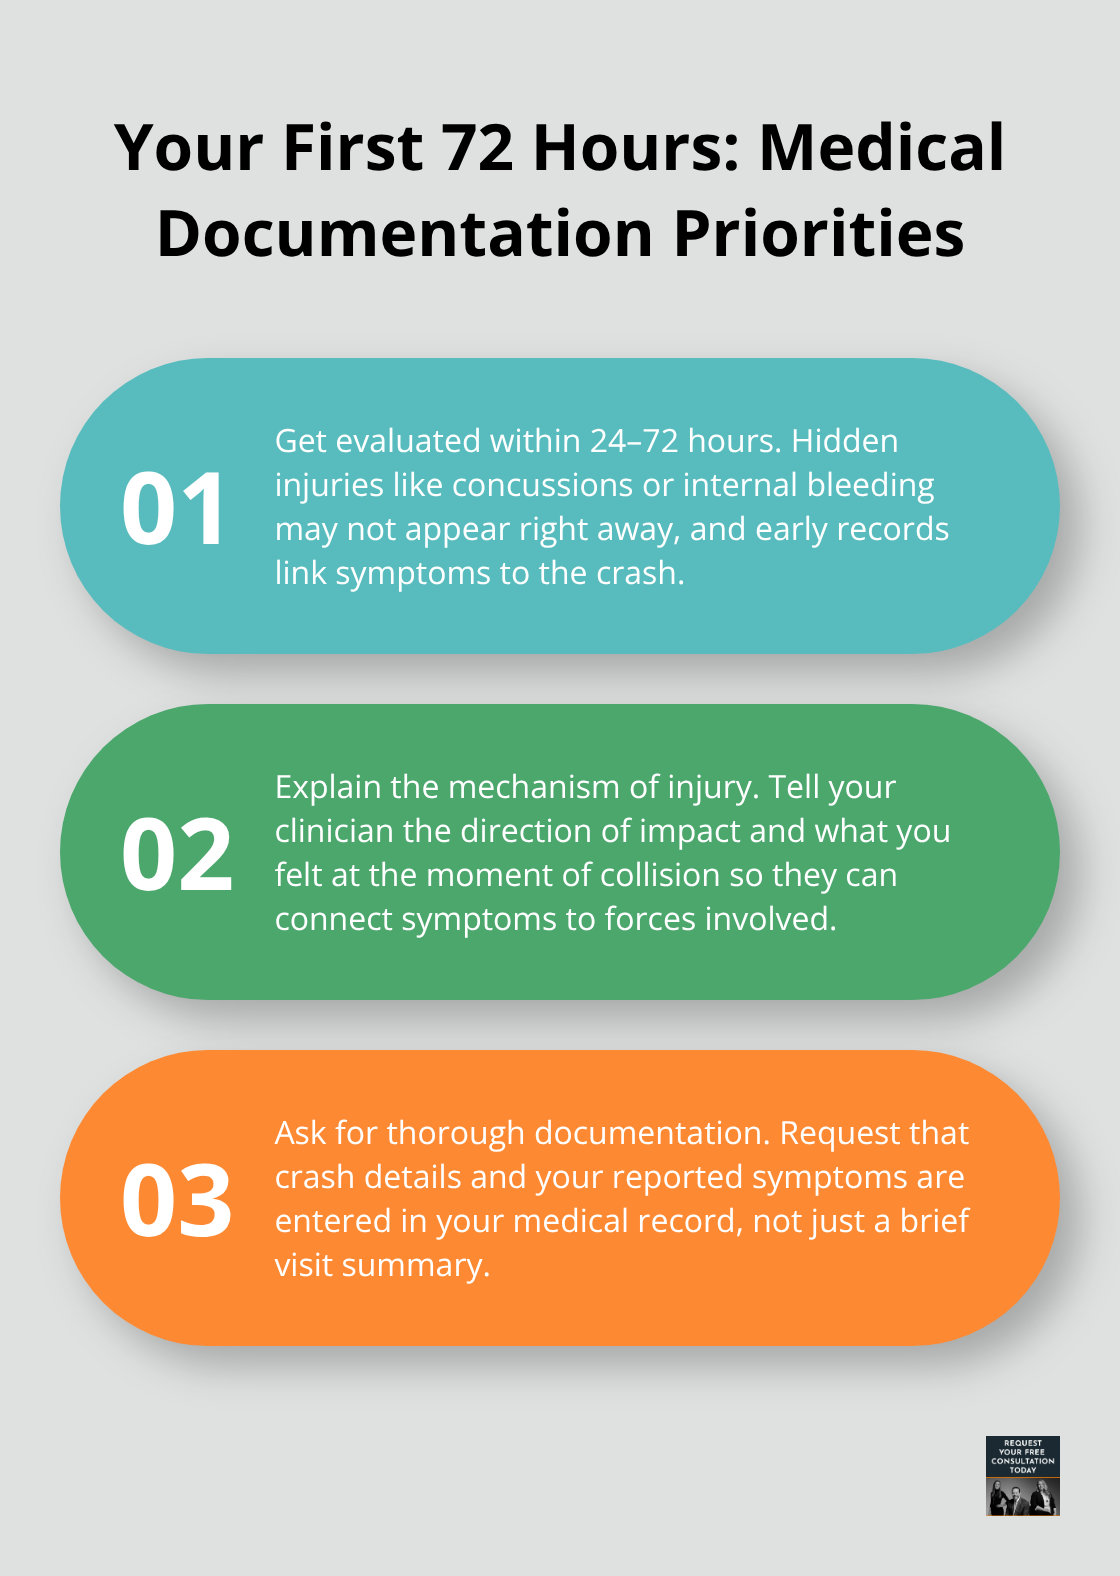
During this visit, tell the clinician exactly how the crash happened, the direction of impact, and any sensations you felt at the moment of collision. This mechanism-of-injury information helps doctors connect your symptoms to the crash itself. Request that your doctor document the crash details in your medical record, not just your current symptoms.
Obtain and Organize Imaging and Specialist Reports
When imaging is ordered-X-rays, CT scans, or MRIs-ask for copies of the actual images and the radiologist’s written report, not just a verbal summary. Keep these in a dedicated folder, either physical or digital, with dates clearly marked. If you see a neurologist or trauma specialist for evaluation of head injuries, obtain their detailed notes and any concussion protocols they recommend. These medical records establish a direct link between the crash and your health problems, forming the backbone of your injury claim.
Track Daily Symptoms and Medical Expenses
Start a daily log the moment you leave the hospital or clinic, noting pain levels on a scale of one to ten, locations of pain, headaches, dizziness, sleep disruption, and how these symptoms affect your work and daily activities. Write down medications you take and any side effects you experience. Track physical therapy sessions, chiropractor visits, or other treatments with dates and what was treated. Save every receipt for medical costs-co-pays, prescription medications, over-the-counter pain relievers, braces, ice packs, or heating pads. If you need assistive devices like crutches or a neck brace, photograph them and keep the receipts. Insurance adjusters and legal representatives need this documentation to calculate your full medical expenses.
Connect Documentation to Your Claim
The more detailed your daily symptom log, the stronger your evidence that the crash caused lasting harm rather than temporary discomfort. Your medical records and expense documentation now position you to address the financial impact of your injuries-something your property damage and income records will complete.
What to Document About Vehicle Damage and Financial Impact
Collect Vehicle Repair Estimates and Invoices
Your vehicle repair estimates and invoices form the paper trail that proves your financial losses. Start collecting repair estimates immediately after the crash, even before you decide which repair shop to use. Get at least two or three estimates from certified repair facilities; shops often vary their assessments by hundreds of dollars, and having multiple quotes protects you from undervaluation. Photograph the repair estimate documents themselves and store them digitally alongside your scene photos. When repairs begin, request itemized invoices that break down labor costs, parts, and materials separately. If your vehicle is declared a total loss, the insurance company will provide a valuation based on market data, but you have the right to challenge this figure if you believe it’s too low. Gather comparable vehicle listings from platforms like Kelley Blue Book or NADA Guides to support your position. Keep all correspondence with the repair shop and insurance adjuster, including emails and claim numbers, in one accessible folder.
Connect Vehicle Damage to Your Injury Claim
Documentation of vehicle damage directly connects to your injury claim because the force of impact helps medical professionals understand the mechanism of injury and why certain injuries occurred. The severity of vehicle damage often correlates with injury risk, so repair estimates and photos provide context for your medical team and legal representatives.
Track Lost Wages and Income Impact
Lost wages and transportation costs represent real money out of your pocket that many accident victims fail to document thoroughly. Request a written statement from your employer confirming the dates you missed work and your hourly rate or salary, then calculate the exact dollar amount of lost income. If you’re self-employed, provide tax returns or business income records showing your typical earnings during the period you couldn’t work. Some injuries cause reduced work capacity rather than complete absence, so document any days when you worked reduced hours or performed lighter duties at lower pay.
Document All Transportation Expenses
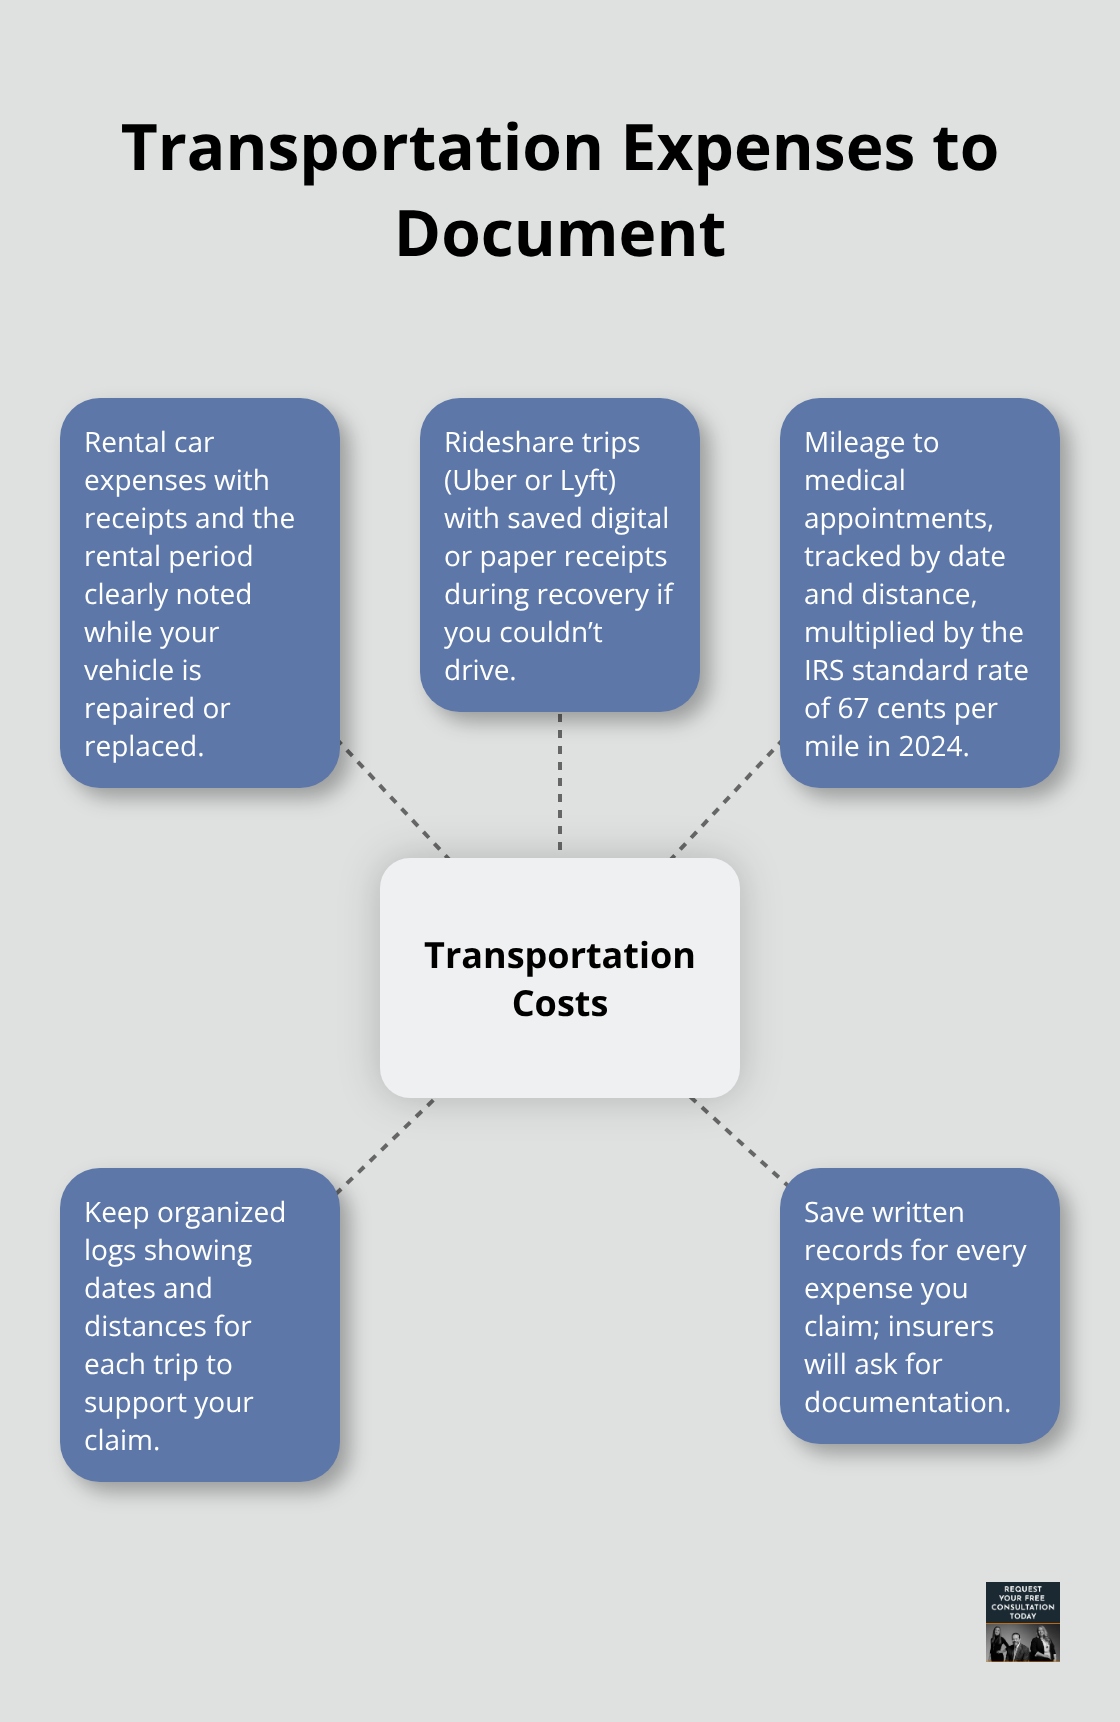
Rental car expenses accumulate quickly while your vehicle undergoes repair or replacement; keep all rental receipts and note the rental period clearly. If you used rideshare services like Uber or Lyft during your recovery because you couldn’t drive, save those receipts too. Mileage to medical appointments also counts as a transportation cost; track these trips with dates and distances, then multiply by the IRS standard mileage rate (67 cents per mile in 2024). The insurance company will request documentation for every expense you claim, so receipts and written records are non-negotiable.
Final Thoughts
The documentation you gather after a crash determines what you can recover and how smoothly your claim progresses. A comprehensive car accident injuries checklist covers three essential areas: scene evidence through photographs and witness statements, medical records that connect your injuries to the crash, and financial documentation that proves your losses. Without this foundation, insurance adjusters have little reason to offer fair compensation.
Proper documentation strengthens your claim by creating an objective record that speaks for itself. Photos of vehicle damage, environmental conditions, and scene details establish how the crash occurred, while medical records with imaging results, specialist evaluations, and daily symptom logs prove the severity and duration of your injuries. Financial records including repair estimates, medical receipts, lost wage statements, and transportation expenses quantify your actual costs.
We at Schaar & Silva LLP help accident victims in Santa Cruz County, Sacramento, and Oakland navigate the claims process by evaluating your documentation, identifying gaps, and building a strategy tailored to your situation. Contact us to discuss your case and learn how your car accident injuries checklist supports your claim.